Get Started with Hyperclay
With a new baby due in September, I wanted to bank some extra hours at my contracting job and needed a way to track them for my boss.
“Wouldn’t it be great,” I thought, “if I could just slap some checkboxes representing my hours on a page and call it a day?”
Unfortunately, there’s no easy stack for something that simple — unless I used this new platform I’d just deployed. So I opened a page, added a beautiful classless stylesheet and threw on a few dozen checkboxes.
Try it here: https://hours.hyperclay.com/?editmode=true
What You’ll Build
A time tracking app that:
- Saves checkbox state and notes without any database
- Has different views for the owner (interactive) and visitors (read-only)
- Lets you add new weeks with a button click
- Works as a single, portable HTML file
Step-by-Step Build Process
Step 1: Create Your App
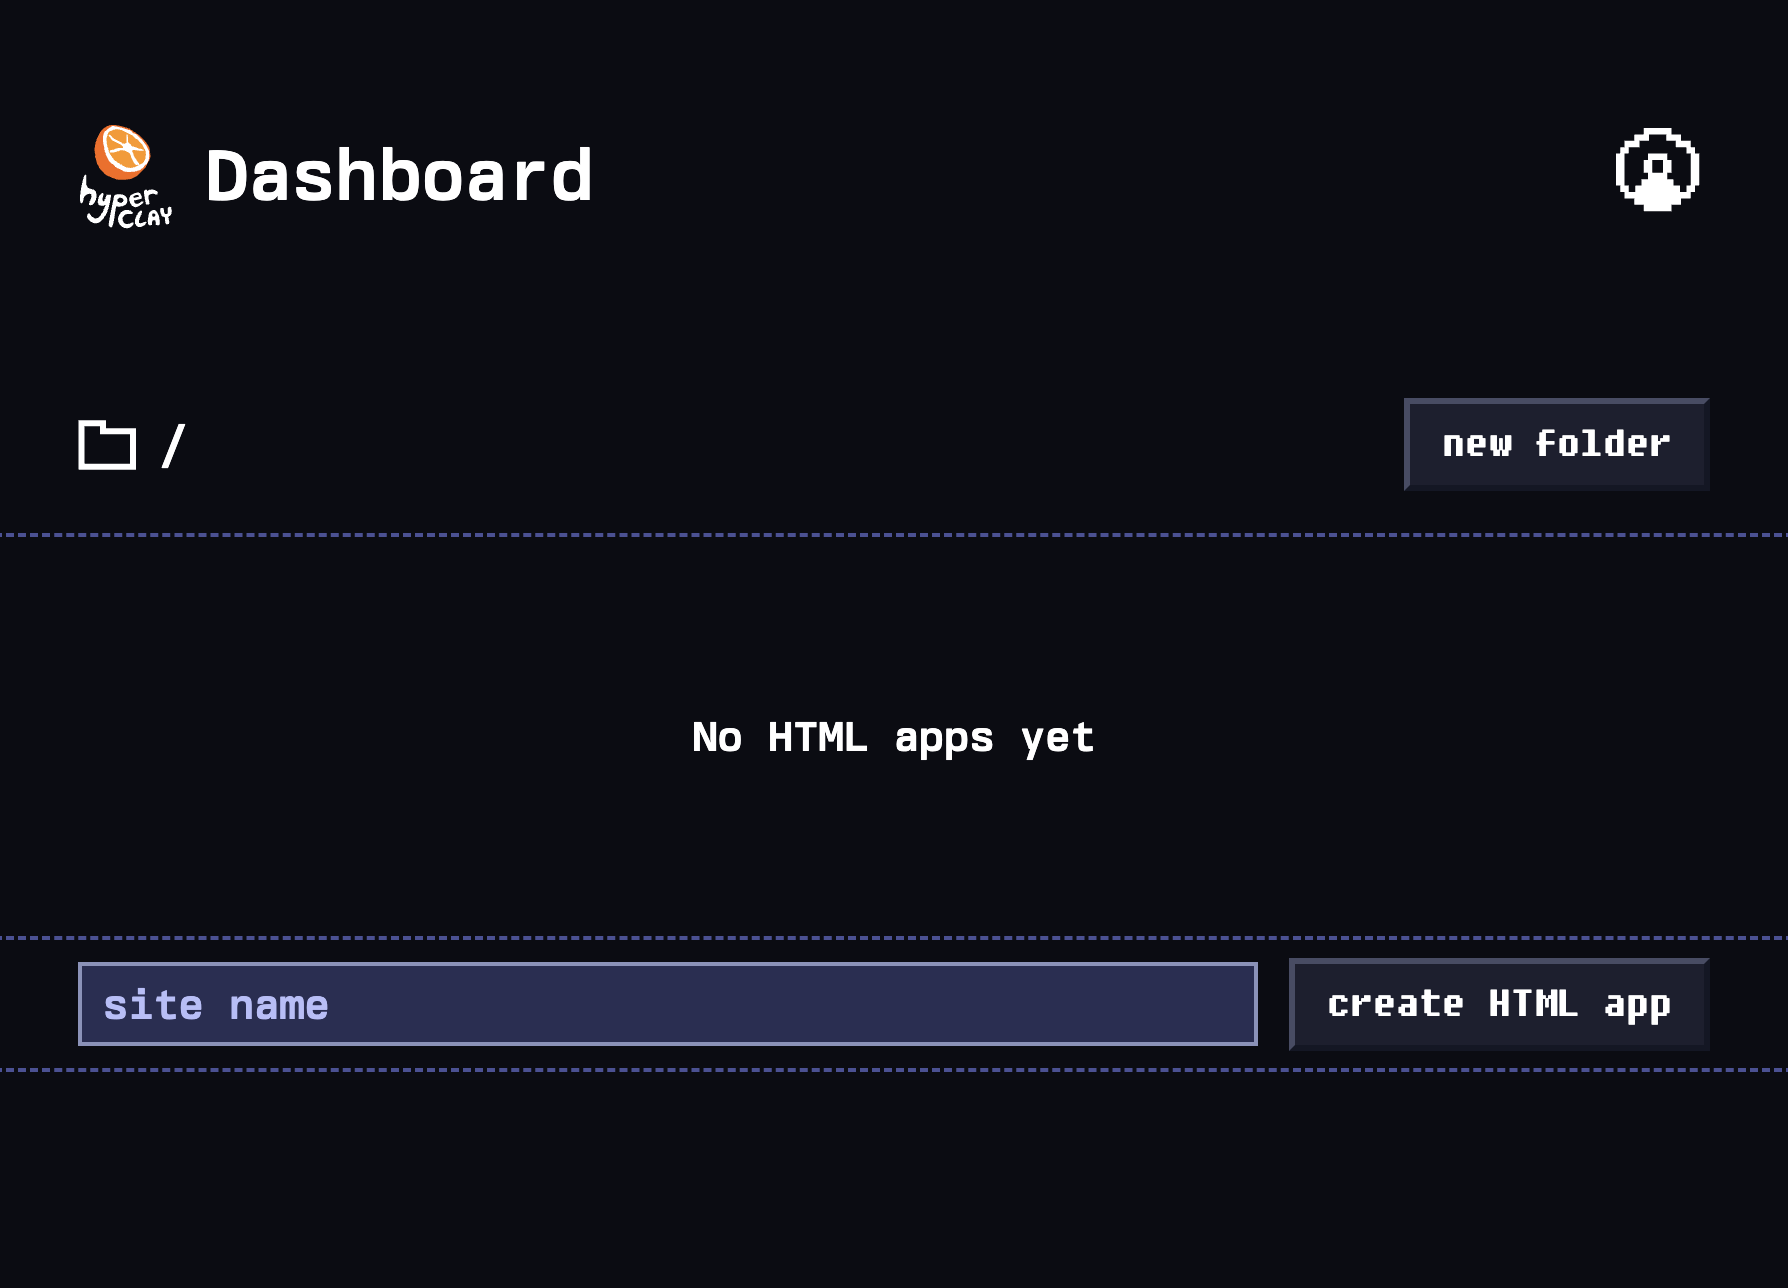
- Go to hyperclay.com
- Choose a name for your app (e.g., “hours”)
- Click “Create Site”
Step 2: Add the Basic HTML Structure
Click “Edit Code” in your app’s menu and replace the default HTML with this:
<!DOCTYPE html>
<html lang="en">
<head>
  <meta charset="utf-8">
  <title>Hours</title>
  <script type="module" src="https://cdn.jsdelivr.net/npm/hyperclayjs@latest/src/hyperclay.js?preset=smooth-sailing"></script>
</head>
<body>
  <h3>Hours</h3>
</body>
</html>
That single script tag gives you auto-saving, edit/view modes, and DOM persistence — everything you need to make a page that can modify itself and save the changes.
Explore HyperclayJS →Step 3: Add Styling
Include Pico CSS for instant beautiful styling:
<link rel="stylesheet" href="https://cdn.jsdelivr.net/npm/@picocss/pico@2/css/pico.min.css">Step 4: Create the Time Tracking Interface
Add checkboxes for each hour, organized by week:
<div>
  <h5>Week 1</h5>
  <div class="hours">
    <input type="checkbox">
    <input type="checkbox">
    <!-- Add 8 more for 10 hours total -->
  </div>
</div>
Step 5: Make It Persistable and Admin-Only
Add the magic Hyperclay attributes:
persist- Saves checkbox state to the DOMviewmode:disabled- Only admins can check/uncheck
<input type="checkbox" viewmode:disabled persist>Step 6: Add Editable Notes
Each week could use a notes section for context — maybe you stayed late for a deploy, or left early on Friday. Add a heading and paragraph inside each week’s container:
<div class="notes">
  <h6>Weekly Notes</h6>
  <p editmode:contenteditable></p>
</div>editmode:contenteditable: Makes the element editable only for the page owner. Visitors see the text as static content. When the owner clicks the paragraph, they can type freely — and their changes persist on save just like the checkboxes.
This is different from viewmode:disabled (which enables/disables form controls). editmode:contenteditable turns any element into a rich text field for owners only.
Step 7: Add a New Week Button
After four weeks, I needed a fifth. Then a sixth. Instead of editing the HTML every time, I added a button that clones the last week and resets it:
<button option:editmode="true" onclick="this.before(this.previousElementSibling.cloneNode(true))">+ Add Week</button>option:editmode="true" makes this button visible only to the page owner. Visitors never see it — it’s completely removed from the page in view mode. Any element can use option: attributes to toggle visibility based on the page’s state.
But there’s a problem: cloning a week copies its checked boxes and typed notes. Each element needs to reset itself when cloned. That’s what onclone is for:
<h5 onclone="this.textContent = 'Week ' + (All.week.length + 1)">Week 1</h5>
<input type="checkbox" viewmode:disabled persist onclone="this.checked = false">
<p editmode:contenteditable onclone="this.textContent = ''"></p>
onclone runs on the newly cloned element (not the original). Each element knows how to reset itself — the heading calculates the next week number, the checkboxes uncheck themselves, and the notes clear back to placeholder text.
All.week.length counts every element with class week on the page. Since the clone hasn’t been inserted into the DOM yet when onclone runs, we add 1 to get the correct number.
Now the “Add Week” button is a single line, and all the reset logic lives on the elements that own it.
Understanding the Key Attributes
-
persist: This attribute tells Hyperclay to save the checkbox’s checked state directly to the DOM. When you check a box and save (Ctrl+S), thecheckedattribute is added to the HTML. -
viewmode:disabled: This makes the input only interactive for the site owner. Visitors see a disabled checkbox. -
option:editmode="true": Hides the element from visitors entirely. Only the page owner sees it. Useful for admin controls like add/delete buttons. -
onclone: Runs code on a newly cloned element.thisrefers to the clone, so each element can reset itself independently.
View Mode vs Edit Mode
As a visitor, you see:
- Read-only checkboxes showing hours worked
- Clean, professional time tracking display
- No ability to modify the data
As the owner, you see:
- Fully interactive checkboxes
- Ability to check/uncheck hours
- The ”+ Add Week” button for adding new weeks
- Changes save automatically with Ctrl+S
Try Your Live App
- Visit
https://hours.hyperclay.com(or whatever you named yours) - Check some boxes, type some notes, then refresh — your changes persist
- Open an incognito window to see the clean, read-only visitor view
- Toggle edit mode with
?editmode=truein the URL to see both views
Complete Code
<!DOCTYPE html>
<html lang="en" editmode="false">
<head>
  <meta charset="utf-8">
  <meta name="viewport" content="width=device-width, initial-scale=1.0">
  <title>Hours</title>
  <link rel="stylesheet" href="https://cdn.jsdelivr.net/npm/@picocss/pico@2/css/pico.min.css">
  <style>
    body {
      max-width: fit-content;
      margin: 40px auto;
      padding: 1rem;
    }

    body>.week h5 {
      margin-bottom: 0.5rem;
    }

    body>.week+.week {
      margin-top: 2rem;
    }

    .hours {
      margin-bottom: 1rem;
    }

    .notes p {
      border: 1px solid var(--pico-muted-border-color);
      padding: 0.5rem;
      min-height: 2.5rem;
    }
  </style>
  <script type="module" src="https://cdn.jsdelivr.net/npm/hyperclayjs@latest/src/hyperclay.js?preset=smooth-sailing"></script>
</head>
<body>
  <h3>Hours</h3>
  <div class="week">
    <h5 onclone="this.textContent = 'Week ' + (All.week.length + 1)">Week 1</h5>
    <div class="hours">
      <input type="checkbox" viewmode:disabled persist onclone="this.checked = false">
      <input type="checkbox" viewmode:disabled persist onclone="this.checked = false">
      <input type="checkbox" viewmode:disabled persist onclone="this.checked = false">
      <input type="checkbox" viewmode:disabled persist onclone="this.checked = false">
      <input type="checkbox" viewmode:disabled persist onclone="this.checked = false">
      <input type="checkbox" viewmode:disabled persist onclone="this.checked = false">
      <input type="checkbox" viewmode:disabled persist onclone="this.checked = false">
      <input type="checkbox" viewmode:disabled persist onclone="this.checked = false">
      <input type="checkbox" viewmode:disabled persist onclone="this.checked = false">
      <input type="checkbox" viewmode:disabled persist onclone="this.checked = false">
    </div>
    <div class="notes">
      <h6>Weekly Notes</h6>
      <p editmode:contenteditable onclone="this.textContent = ''"></p>
    </div>
  </div>
  <div class="week">
    <h5 onclone="this.textContent = 'Week ' + (All.week.length + 1)">Week 2</h5>
    <div class="hours">
      <input type="checkbox" viewmode:disabled persist onclone="this.checked = false">
      <input type="checkbox" viewmode:disabled persist onclone="this.checked = false">
      <input type="checkbox" viewmode:disabled persist onclone="this.checked = false">
      <input type="checkbox" viewmode:disabled persist onclone="this.checked = false">
      <input type="checkbox" viewmode:disabled persist onclone="this.checked = false">
      <input type="checkbox" viewmode:disabled persist onclone="this.checked = false">
      <input type="checkbox" viewmode:disabled persist onclone="this.checked = false">
      <input type="checkbox" viewmode:disabled persist onclone="this.checked = false">
      <input type="checkbox" viewmode:disabled persist onclone="this.checked = false">
      <input type="checkbox" viewmode:disabled persist onclone="this.checked = false">
    </div>
    <div class="notes">
      <h6>Weekly Notes</h6>
      <p editmode:contenteditable onclone="this.textContent = ''"></p>
    </div>
  </div>
  <button option:editmode="true" onclick="this.before(this.previousElementSibling.cloneNode(true))">+ Add Week</button>
</body>
</html>
What’s Next?
- Core Concepts — deeper patterns like DOM as database, save-strip-restore, and state machines
- Example Apps — more real-world Hyperclay apps to learn from